
Quick steps
Use these steps if you choose to use an EIN and need an NPI Type 2 for your business or organization.
The online application is generally straightforward and usually takes about 10-15 minutes if you have your standard business information ready.
- 1Visit the NPPES portal: https://nppes.cms.hhs.gov/login.
- 2Sign in with your I&A user ID and password. This is usually the same account you use for your NPI Type 1.
- 3Look for Manage NPIs or Apply for an NPI. Select Apply for an NPI to begin a new application.
- 4On the Start NPI Application page, choose Organization NPI. NPPES also calls this a Type 2 NPI.
- 5Use the official NPPES field instructions here as you complete the application: NPPES application help page.
- 6After NPPES issues the new Type 2 NPI number, send it to GetPaneled so we can proceed with your applications.
Sign in to NPPES
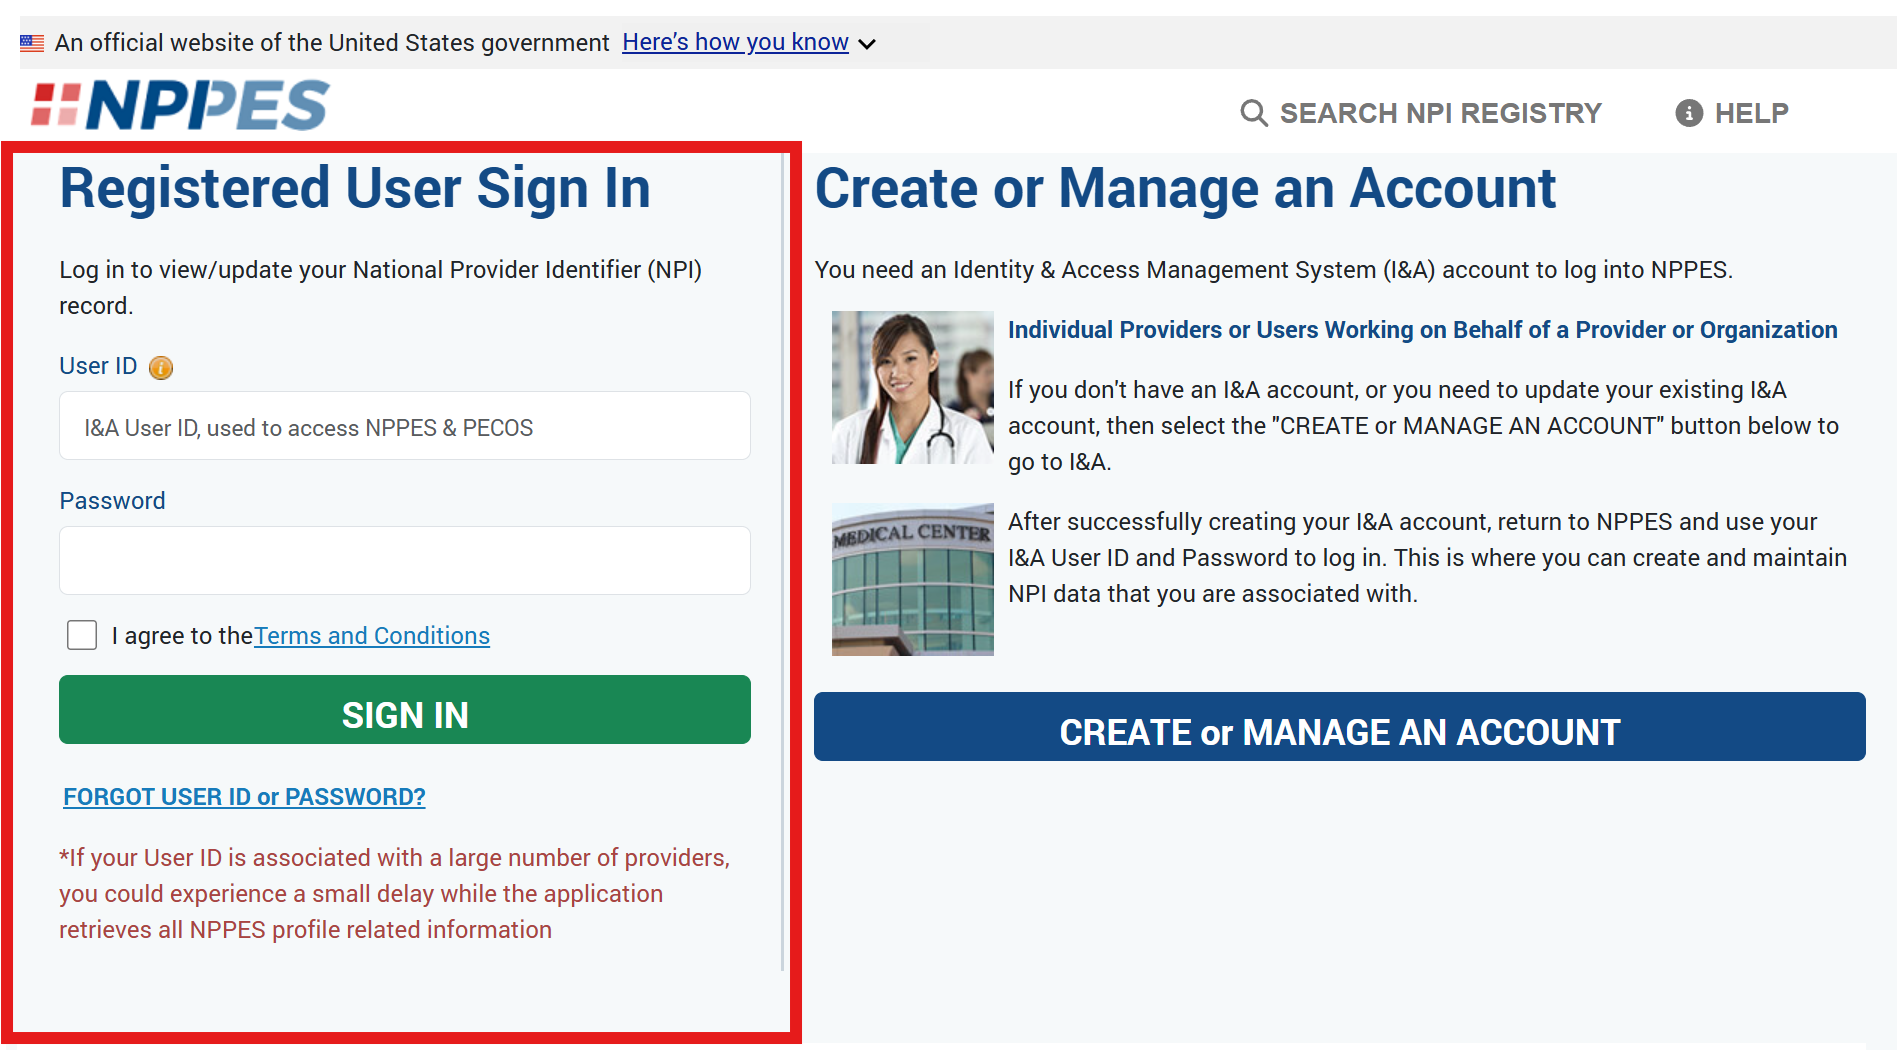
On the NPPES login page, use the Registered User Sign In box. Enter your I&A User ID and password, agree to the terms, and select Sign In.
If you do not have an I&A account, use Create or Manage an Account first, then return to NPPES and sign in.
Start the Type 2 application
After signing in, select Apply for an NPI. The Start NPI Application page will open.
- When asked what type of NPI you are applying for, select Organization NPI. This is the NPI Type 2 option.
- If NPPES asks whether you are an employee of the provider, select Yes if you are the owner or work for the business applying for the NPI.
- Select No only if you are a surrogate working on behalf of the provider. Most solo practice owners applying for their own business will not use the surrogate option.
Field-by-field guide
Use this as a quick guide while completing the NPPES sections. The goal is to make the Type 2 NPI match the business entity and EIN you want used for credentialing and billing.
- Profile: Enter the required organization information. Do not enter an SSN in the EIN field. The EIN should be the IRS number assigned to the business entity.
- Authorized Official: Enter the owner or authorized official's contact information and credentials.
- Other Names: Add a DBA, former legal business name, or other business name only if it applies.
- Business Mailing Address: Enter the correspondence address where NPPES can contact you about the application. A PO Box may be allowed here.
- Practice Location Address: Enter the physical location where services are rendered. The primary location is required. Add other locations only if needed.
- Health Information Exchange: Adding an endpoint is optional. If you do not use one, continue without adding an endpoint.
- Other Identifiers: These are optional. Add them only if you already have other identifiers that should be associated with the organization.
- Taxonomy: Add at least one taxonomy. The first taxonomy becomes the primary taxonomy by default. Choose the practice type and taxonomy that fit the organization.
- Contact Information: Add at least one contact email. NPI notifications will be sent to every contact person email listed.
- Submission Certification: Review the application, accept the terms, certify the application, and submit. NPPES will flag any sections that need corrections before submission.
After you submit
Once the application is complete, NPPES should send an email with the new NPI Type 2 number. Save that email for your records.
Send the new NPI Type 2 number to GetPaneled. We will add it to your file and continue the payer applications from there.
- A Type 2 NPI does not mean you are credentialed with insurance yet.
- Payer applications may still require your individual Type 1 NPI.
- If Medicare or Medicaid is involved, there may be additional CMS I&A, PECOS, or state-specific steps.